DSP Tuning and Time Alignment: A Measurement-Led Workflow
A DSP will let you do everything in any order, which is why most car tunes are worse than they need to be. Equalisation applied before time alignment corrects a problem that alignment was about to remove, and bakes the correction in. Levels matched before crossovers are set have to be matched again. The order of operations is not a style preference — each step changes the measurement the next step depends on. This article sets out that order, what to measure at each stage, and the errors that are hardest to undo.
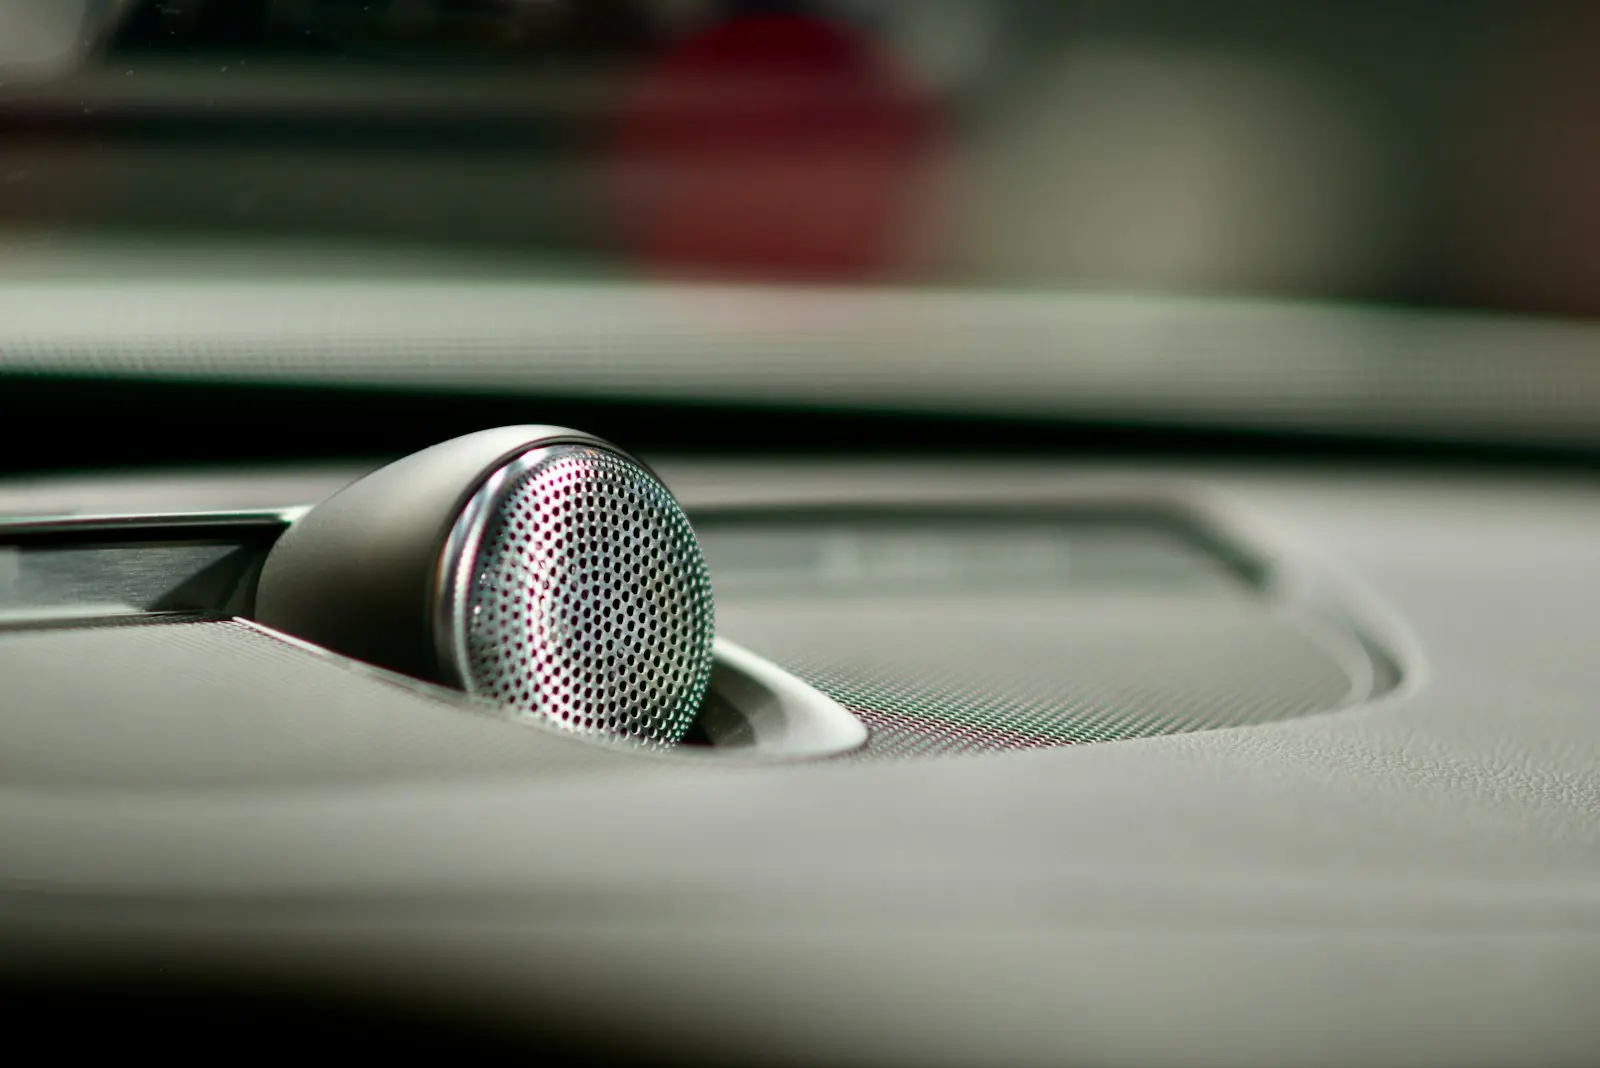
Tuning a car is the problem of making a set of drivers, placed where the vehicle allows rather than where acoustics would prefer, produce a coherent stage at one seat. The DSP is a tool for that, not a solution to it. Every control it offers interacts with the others, so the value of a workflow is that it fixes the interactions in an order where each decision survives the next one.
Before the DSP: gain structure
Nothing downstream can recover from a bad gain structure. The aim is that every stage runs near its optimal level: high enough that the noise floor stays well below the music, low enough that no stage clips before the one after it. Set the source to its maximum undistorted output, set the DSP input so that the loudest expected material reaches close to but not at digital full scale, then set the amplifier gains to match the DSP's output.
Two failure modes bracket this. Amplifier gain set too high makes the system loud at low volume settings and amplifies the system's own input noise along with the music — that is where the hiss comes from. Set too low, the DSP has to run hot to compensate and clips digitally, which sounds far worse than analogue clipping because it produces no soft limit. Digital clipping has no headroom above full scale at all; the waveform simply stops.
Step one: crossovers
Crossovers come first because they decide which driver produces what, and every later measurement depends on that. Set high-pass filters from the drivers' physical limits rather than from taste: a small midrange asked to reproduce 80 Hz will run out of excursion and distort long before it runs out of power. Choose slopes with the acoustic result in mind — the electrical slope you dial in adds to the driver's own roll-off, so a 12 dB/octave electrical filter on a driver already falling at 12 dB/octave produces a 24 dB/octave acoustic slope.
The subwoofer-to-midbass handover is the one that most often goes wrong, because the subwoofer is usually behind the listener and the midbass in front. The two arrive at different times, and in the overlap region they can subtract rather than add. Measure the summed response through the crossover region, then check it against each driver alone: if the sum is lower than one of the parts, the polarity or the delay is wrong, not the crossover frequency.
Step two: time alignment
The driver's seat is off-centre, so the near-side speaker is substantially closer than the far-side one. Sound travels roughly 34 cm per millisecond, so a 60 cm path difference is about 1.8 ms — well inside the window where the precedence effect makes the ear localise toward whichever sound arrives first, regardless of level. The stage collapses into the near door, and no amount of level trim genuinely fixes it, because level and arrival time are not interchangeable cues.
Delay each driver so that the arrivals coincide at the listening position. Start from measured path lengths — a tape measure from each driver to the headrest gets you close — and convert to delay, then refine with measurement. Two cautions. First, alignment is correct for one seat; a tune optimised for the driver is necessarily compromised for the passenger, and that is a decision to make explicitly rather than discover later. Second, delay corrects arrival time, not phase behaviour through a crossover region, where the two drivers' phase responses have to sum correctly as well.
Step three: levels
With crossovers set and arrivals aligned, match levels between drivers and between sides. Doing it before alignment is wasted effort, because alignment changes how the drivers sum and therefore what balance sounds correct. Match each pair using pink noise band-limited to that driver's passband, then verify with music that has a stable centre image — a solo vocal, mixed centre — and confirm the image sits centred and does not move with frequency. An image that drifts as a voice moves through its range usually means a level or delay error in one band rather than a broadband imbalance.
Step four: equalisation, last
Equalisation is last because it is the only step that can hide the others. A dip caused by a timing error and a dip caused by a cabin null look identical on a magnitude plot, and equalising the first one bakes in a fault that alignment would have removed. By this stage, what remains on the curve is mostly the room.
Cut in preference to boost. A boost asks the driver for more output in a region where the cabin is already cancelling, which costs headroom and adds distortion without filling the null, because the cancellation is a geometric effect rather than a deficiency of the driver. Narrow deep nulls in particular should generally be left alone; they are position-dependent, and a metre of microphone movement can turn a null into a peak. Broad, gentle corrections travel across seats. Sharp ones are usually corrections to the microphone's position.
A target curve is a starting point, not a specification. In-car targets slope upward toward the low end because cabin gain makes a literally flat response sound thin, and they usually roll off gently at the top. Any published curve is only meaningful together with its measurement conditions: microphone position, how many positions were averaged, and how much smoothing was applied. A curve measured at one point with no smoothing and the same curve measured over a nine-point average are not comparable documents.
| Step | What it fixes | What it breaks if done out of order |
|---|---|---|
| Gain structure | Noise floor and headroom | Everything — cannot be recovered downstream |
| Crossovers | Which driver produces what | Invalidates every later measurement |
| Time alignment | Stage collapse toward the near door | Level matching has to be redone |
| Levels | Tonal balance between drivers and sides | Equalisation corrects a balance error as if it were response |
| Equalisation | Remaining cabin response | Nothing after it — which is why it goes last |
Measuring well enough to trust the result
- Use a calibrated measurement microphone with its calibration file loaded. An uncalibrated capsule can be several decibels out at the frequency extremes, which is exactly where tuning decisions are hardest.
- Fix the microphone position and record it. Ear height at the headrest is conventional; what matters is that it does not move between measurements.
- Average several positions around the head rather than trusting one point. A single-point measurement contains comb filtering that no listener perceives and that will tempt you into narrow corrections.
- Apply psychoacoustic or fractional-octave smoothing before making decisions. Raw unsmoothed curves show detail the ear does not resolve.
- Measure with the engine off unless you are specifically characterising alternator noise, and keep the climate fan off — a fan can raise the noise floor by more than the effect you are trying to measure.
- Save the measurement set with the tune. A tune without its measurements cannot be audited, reproduced, or handed to anyone else.
Finishing by listening
Measurement decides what is correctable; listening decides whether it was worth correcting. Verify at more than one volume, because a system that holds together at moderate level and falls apart when pushed has a linearity problem no static measurement will show. Check a familiar track with a centred vocal for image stability, something dense for separation, and something with sustained low content for control. If measurement and listening disagree, the usual cause is that the measurement answered a different question — a single position, too little smoothing, or a magnitude plot standing in for a timing problem.
Frequently asked questions
What order should I tune a car audio system in?
Gain structure first, then crossovers, then time alignment, then level matching, then equalisation. The order matters because each step changes the measurement the next one depends on — equalising before aligning, for example, corrects a timing artefact as though it were a response error and locks it in.
Why does time alignment matter so much in a car?
The driver sits well off-centre, so one speaker can be over half a metre closer than the other. Sound covers about 34 cm per millisecond, and the precedence effect makes the ear localise toward the earlier arrival regardless of level, which pulls the stage into the near door. Per-channel delay corrects the arrival difference; level trim cannot substitute for it.
Should I boost or cut when equalising?
Cut by preference. Boosting asks the driver for more output where the cabin is cancelling, which spends headroom and adds distortion without filling the null, because the cancellation is geometric. Narrow deep nulls are also strongly position-dependent and are usually best left alone.
Do I need a calibrated measurement microphone?
Yes, if the measurements are going to drive decisions. An uncalibrated capsule can be several decibels off at the frequency extremes, which is where tuning judgements are most difficult, and the calibration file has to be loaded in the software for the correction to apply.
Can one tune work for both the driver and the passenger?
Not fully. Time alignment is correct for one seat, so optimising for the driver necessarily compromises the passenger. Some processors store multiple presets, and a deliberately less aggressive alignment can spread the compromise more evenly — but that is a trade-off to choose explicitly, not a setting that removes it.